


280.00 SR
Compare color
-
Induction-white
-
Induction-black
Click on color/pattern to compare, click and drag images to reorder
Couldn't load pickup availability
Shipping, returns, and payments
-
Free delivery
-
30 days returns.
-
Money's Guarantee


Recently viewed products
SPECIFICATIONS
Brand Name: CREAROMA
Certification: CE
High-concerned chemical: None
Origin: Mainland China
Voltage: <20V
Product description
.aplus-v2 .container-with-background-image {
width: 100%;
height: 100%;
background-repeat: no-repeat;
background-size: cover;
}
width: 100%;
height: 100%;
background-repeat: no-repeat;
background-size: cover;
}
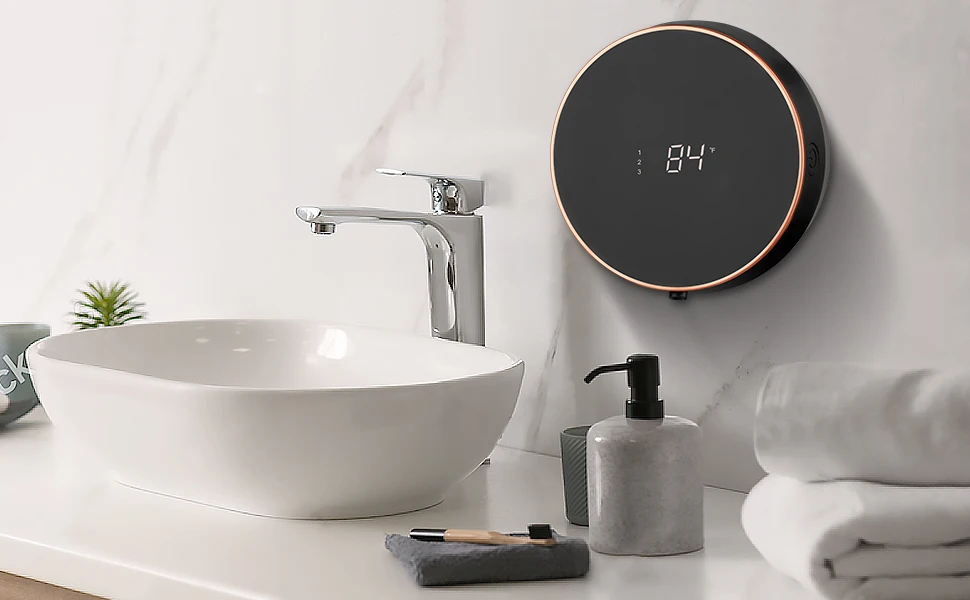
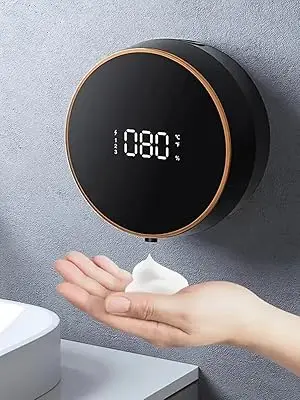
Three-speed adjustable + changeable liquid automatic soap dispenser
Different cleaning liquids can be replaced, and the bubble volume can be adjusted in three levels, which can meet the needs of different people
So you can adjust it to fit your needs. It also comes with a top-notch infrared sensor that can handle even the brightest light - just make sure to install it at the right distance.(Install it 0.65ft/20cm away from your table)

Installation Method
-
1.Clean the wall with a rag
-
2.Tear off the adhesive and paste it on the wall, let it stand for more than 24 hours
-
3.Buckle the machine on the adhesive
-
4.Read the user manual
-
5.Start the machine
Wall-Mounted Automatic Soap Dispenser
Every product is built with heart
-
Specification: 5.1in/13cm x 2.5 in/6.2cm
-
Maximum capacity: 300ml/12oz
-
Battery capacity: 2000
-
Product weight: 260g/0.57lb
-
Waterproof level: IPX5
-
Installation method: strong non-marking glue wall-mounted

0.25s extremely fast foaming, no need to wait

Nano-level volumizing foam
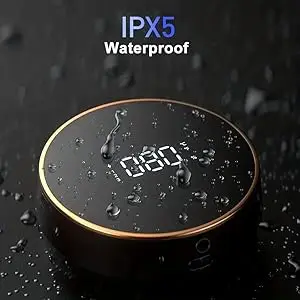
IPX5 level waterproof
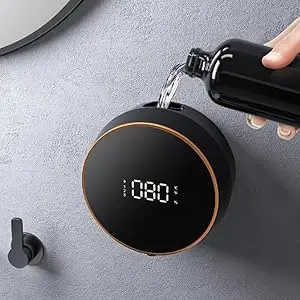
300 ml Large capacity

Steps to install the soap dispenser on the wall
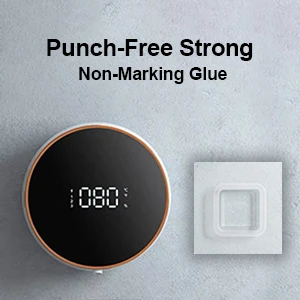
Punch-free strong and non-marking glue, easy to use
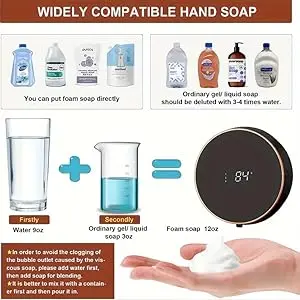
Frequently Asked Questions
-
Q: How should hand soap be added?
A: If it is a foam hand soap, you can pour it directly without adding water
A: If it is an ordinary hand soap, please add the hand soap first, and then add water. The most appropriate ratio is 1 hand soap : 3 water, which can be adjusted according to the desired bubble concentration.Can't use a soap with particles, such as starlight hand soap, fluorescent hand soap, etc., particles can cause blockage
-
Q: The soap dispenser works, but no bubbles come out?
A: The initial judgment is that the outlet is blocked. The solution is to add warm water and adjust it to the highest level for repeated induction and dredging.
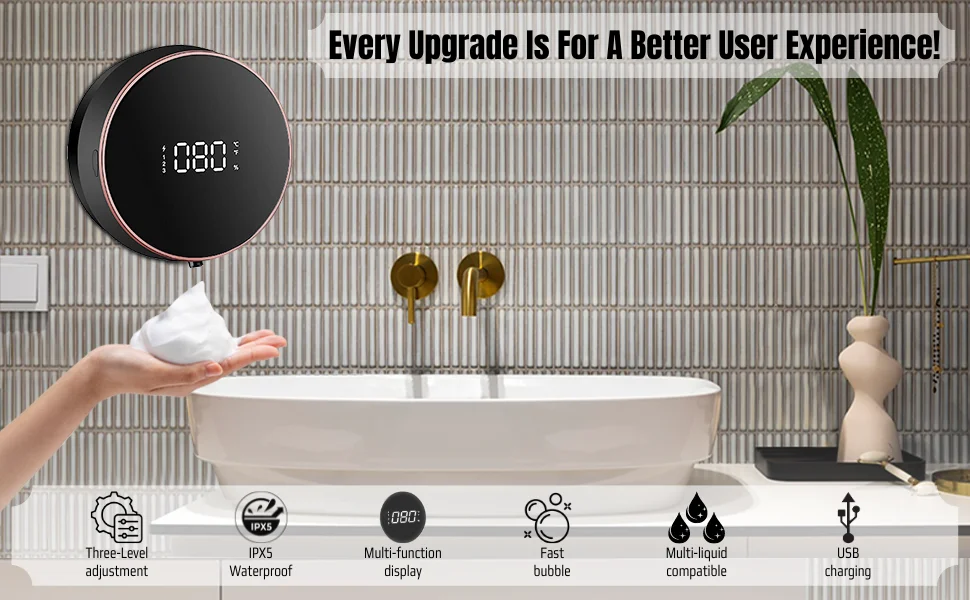
TROUBLESHOOTING GUIDES!
1.Not enough bubbles? Generally, this is caused by insufficient amount of ordinary hand soap. We recommend that the ratio of ordinary hand soap to water is 1:3, and the amount of hand soap should be more than less. Shake well before turning it on.
2.You can feel it when you stretch your hand over, but no bubbles come out? Only a small amount of liquid comes out? Probably due to the blockage of the outlet, the hand soap was not shaken evenly when adding the liquid, which caused the hand soap to precipitate, or the ordinary hand soap was directly added to cause blockage. It is recommended to add warm water and adjust to the highest level for repeated induction.
3.The product you are browsing now is a foam type. If you add foam soap, you can add it directly. If you choose ordinary gel soap, please dilute it with a ratio of 1 soap: 3 water before adding it.
4.No response to charging? Due to the fact that the product is sometimes turned on during transportation, the battery is completely drained. After receiving the product, please continue to charge it for 1.5-2 hours, and then use it after it is fully charged.
5.No reach sensor, but the soap dispenser foams by itself? We recommend that the machine be installed at a distance of more than 20cm from the countertop to prevent false induction caused by reflections on the countertop.
6.Can't use a soap with particles, such as starlight hand soap, fluorescent hand soap, etc., particles can cause blockage.
7.Black sponge cannot sense (because black sponge absorbs infrared rays, black sponge cannot be used for sensing)
8.We support after-sales service for one year, if your return window has been closed, please take the initiative to inform us, we will solve the problem for you, thank you for your support.
From the brand
.aplus-v2 .container-with-background-image {
width: 100%;
height: 100%;
background-repeat: no-repeat;
background-size: cover;
}
width: 100%;
height: 100%;
background-repeat: no-repeat;
background-size: cover;
}
.aplus-v2 .apm-brand-story-carousel-container {
position: relative;
}
.aplus-v2 .apm-brand-story-carousel-hero-container,
.aplus-v2 .apm-brand-story-carousel-hero-container > div {
position: absolute;
width: 100%;
}/*
Ensuring the carousel takes only the space it needs.
The sizes need to be set again on the absolutely positioned elements so they can take up space.
*/
.aplus-v2 .apm-brand-story-carousel-container,
.aplus-v2 .apm-brand-story-carousel-hero-container {
height: 625px;
width: 100%;
max-width: 1464px;
margin-left: auto;
margin-right: auto;
overflow: hidden;
}
.aplus-v2 .apm-brand-story-carousel-hero-container,
.aplus-v2 .apm-brand-story-carousel-hero-container > div {
height: 625px;
}.aplus-v2 .apm-brand-story-carousel.a-carousel-container {
padding: 0px;
}
/*
This centers the carousel vertically on top of the hero image container and after the logo area (125px).
Margin-top = (heroHeight - cardHeight - logoAreaHeight) / 2 + logoAreaHeight
*/
.aplus-v2 .apm-brand-story-carousel .a-carousel-row-inner {
margin-top: 149px;
}
/*
Cards need to have a width set, otherwise they default to 50px or so.
All cards must have the same width. The carousel will resize itself so all cards take the width of the largest card.
The left margin is for leaving a space between each card.
*/
.aplus-v2 .apm-brand-story-carousel .a-carousel-card {
width: 362px;
margin-left: 30px !important;
}
/* styling the navigation buttons so they are taller, flush with the sides, and have a clean white background */
.aplus-v2 .apm-brand-story-carousel .a-carousel-col.a-carousel-left,
.aplus-v2 .apm-brand-story-carousel .a-carousel-col.a-carousel-right {
padding: 0px;
}
.aplus-v2 .apm-brand-story-carousel .a-carousel-col.a-carousel-left .a-button-image,
.aplus-v2 .apm-brand-story-carousel .a-carousel-col.a-carousel-right .a-button-image {
border: none;
margin: 0px;
}
.aplus-v2 .apm-brand-story-carousel .a-carousel-col.a-carousel-left .a-button-image .a-button-inner,
.aplus-v2 .apm-brand-story-carousel .a-carousel-col.a-carousel-right .a-button-image .a-button-inner {
background: #fff;
padding: 20px 6px;
}
.aplus-v2 .apm-brand-story-carousel .a-carousel-col.a-carousel-left .a-button-image .a-button-inner {
border-radius: 0px 4px 4px 0px;
}
.aplus-v2 .apm-brand-story-carousel .a-carousel-col.a-carousel-right .a-button-image .a-button-inner {
border-radius: 4px 0px 0px 4px;
}
position: relative;
}
.aplus-v2 .apm-brand-story-carousel-hero-container,
.aplus-v2 .apm-brand-story-carousel-hero-container > div {
position: absolute;
width: 100%;
}/*
Ensuring the carousel takes only the space it needs.
The sizes need to be set again on the absolutely positioned elements so they can take up space.
*/
.aplus-v2 .apm-brand-story-carousel-container,
.aplus-v2 .apm-brand-story-carousel-hero-container {
height: 625px;
width: 100%;
max-width: 1464px;
margin-left: auto;
margin-right: auto;
overflow: hidden;
}
.aplus-v2 .apm-brand-story-carousel-hero-container,
.aplus-v2 .apm-brand-story-carousel-hero-container > div {
height: 625px;
}.aplus-v2 .apm-brand-story-carousel.a-carousel-container {
padding: 0px;
}
/*
This centers the carousel vertically on top of the hero image container and after the logo area (125px).
Margin-top = (heroHeight - cardHeight - logoAreaHeight) / 2 + logoAreaHeight
*/
.aplus-v2 .apm-brand-story-carousel .a-carousel-row-inner {
margin-top: 149px;
}
/*
Cards need to have a width set, otherwise they default to 50px or so.
All cards must have the same width. The carousel will resize itself so all cards take the width of the largest card.
The left margin is for leaving a space between each card.
*/
.aplus-v2 .apm-brand-story-carousel .a-carousel-card {
width: 362px;
margin-left: 30px !important;
}
/* styling the navigation buttons so they are taller, flush with the sides, and have a clean white background */
.aplus-v2 .apm-brand-story-carousel .a-carousel-col.a-carousel-left,
.aplus-v2 .apm-brand-story-carousel .a-carousel-col.a-carousel-right {
padding: 0px;
}
.aplus-v2 .apm-brand-story-carousel .a-carousel-col.a-carousel-left .a-button-image,
.aplus-v2 .apm-brand-story-carousel .a-carousel-col.a-carousel-right .a-button-image {
border: none;
margin: 0px;
}
.aplus-v2 .apm-brand-story-carousel .a-carousel-col.a-carousel-left .a-button-image .a-button-inner,
.aplus-v2 .apm-brand-story-carousel .a-carousel-col.a-carousel-right .a-button-image .a-button-inner {
background: #fff;
padding: 20px 6px;
}
.aplus-v2 .apm-brand-story-carousel .a-carousel-col.a-carousel-left .a-button-image .a-button-inner {
border-radius: 0px 4px 4px 0px;
}
.aplus-v2 .apm-brand-story-carousel .a-carousel-col.a-carousel-right .a-button-image .a-button-inner {
border-radius: 4px 0px 0px 4px;
}
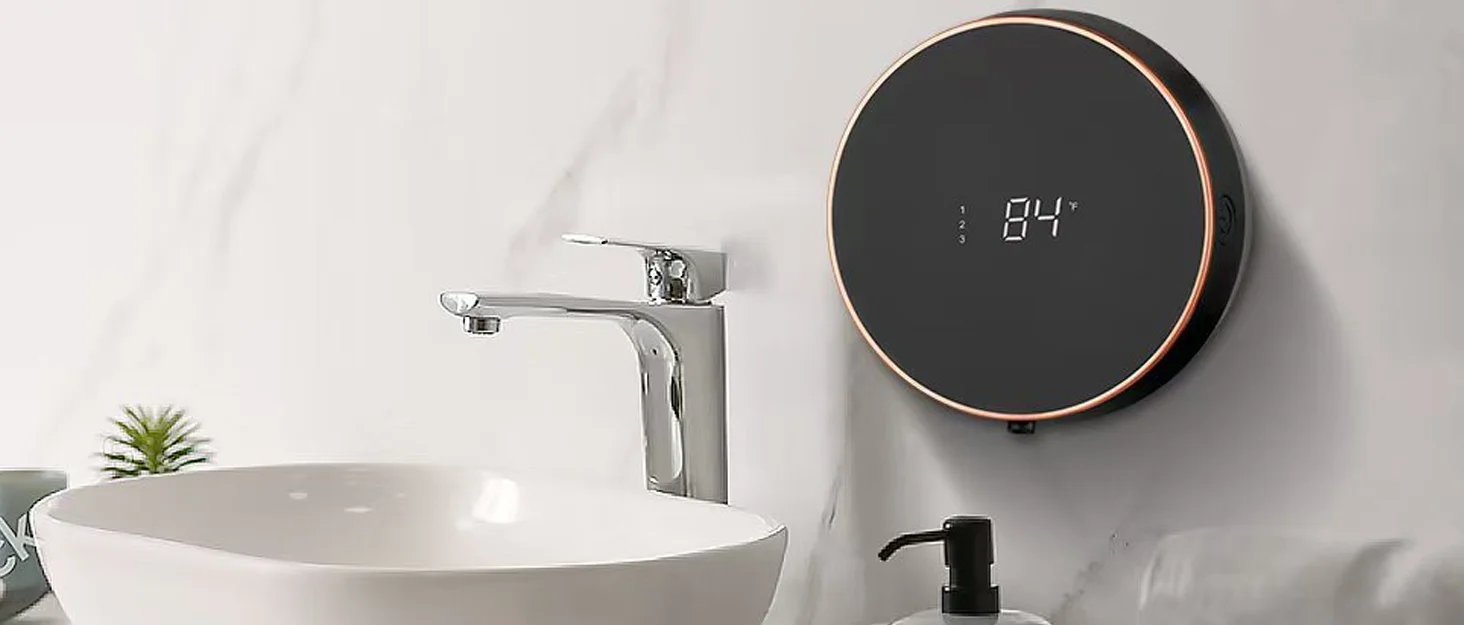
Automatic Soap Dispenser
-
-

Yerdchts is dedicated to helping people lead safer lives by providing high-quality home and kitchen products
Automatic Foaming Soap Dispenser isn't just an object; it's a silent narrator of a cleaner, more refined lifestyle. This dispenser has become a symbol of modern living, where form meets function in perfect harmony
Yerdchts soap dispensers will help you to reduce waste and save more time, give you and your family all the comforts at home